Blog
Blog
Gain staging is the process of adjusting the gain of your audio signal to get optimal results.
That sounds simple enough, right? As usual, it can be trickier than that.
The good news is that you don't have to be a pro or expert to get great-sounding results. But by avoiding mistakes, you can save a lot of time and have less noise in your recordings.
In this blog, you will learn the basics of gain staging and how to use it to your advantage.
Check out the video below if you prefer to watch a video about the topic. It teaches the same concepts and knowledge.
To understand the process in detail, we need to clarify a few terms so you know what each phrase means and represents.
With audio, you always want to get it right at the source. You want your audio to sound as good as possible at the recording stage.
To maintain a great sound through your signal chain, gain staging is helpful and necessary.
If you properly gain stage, your signal will not clip; it will have the lowest noise possible while still having enough headroom to mix and master.
If you don't consider gain staging, the following problems could happen:

Here is the “too long, didn’t read” version of gain staging for simple home recording with a mic or instrument and just an audio interface:
If you follow these 3 rules, you are good.
If you want to dive deeper and learn a bit more about gain staging, read on.
Our best selling microphones
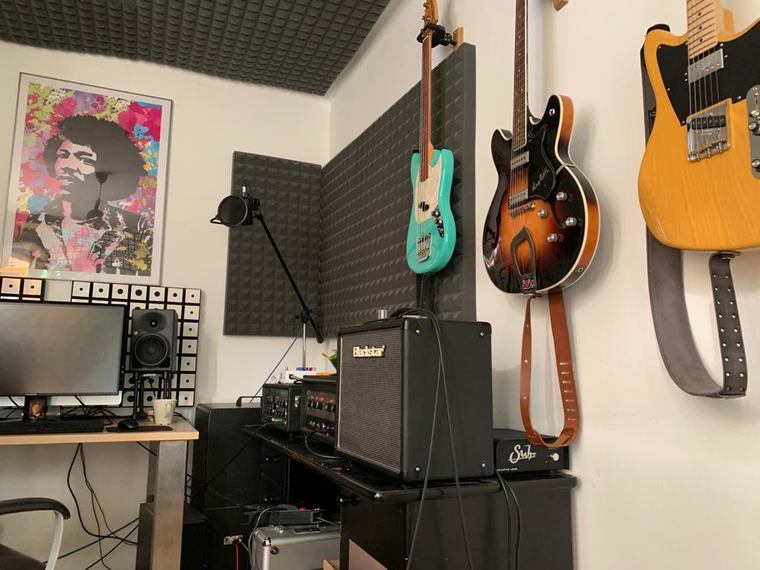
For this blog, we assume you will record digitally on your computer.
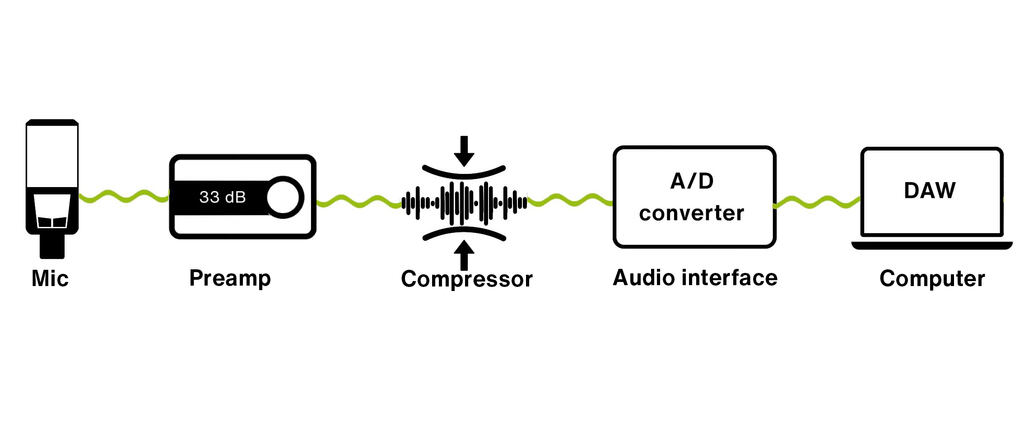
Gain staging starts at the beginning, at the source. It is the most essential part of your recording, so pay close attention to get it right.
You want to play/sing the loudest part of your music a few times and set the gain:
If you are unsure about the exact level, use the metering in your DAW. It's okay if it's not exactly -14 dBFS. As long as you are below -10 dBFS and the levels sound good and loud enough to your ears, you should be OK.
If you use more analog gear before your signal hits the DAW, like a compressor or mixer, adjust the gain of each stage in your signal chain accordingly. Try to hit the sweet spot of 0 dBVU with each analog stage and between -12 to -14 dBFS when it hits your DAW.
Ideally, each stage in your signal chain has the input signal at the same gain level as the output signal, so you have unity gain.
This process ensures you leave enough headroom to avoid clipping at all costs but still have a loud enough signal to keep your signal-to-noise ratio optimal.
This is what gain staging is all about.
Remember, each piece of equipment introduces noise into your signal.
Noise is accumulative, which means you want to ensure that each stage introduces as little noise as possible.
That is why gain staging is essential to get optimal recordings.
If you want to record without worrying about the right gain, you should get an audio interface with Autosetup.
Autosetup finds the correct gain for you each time, so you can focus on your performance and won't have to worry about the correct settings anymore.
LEWITT interfaces come with Autosetup
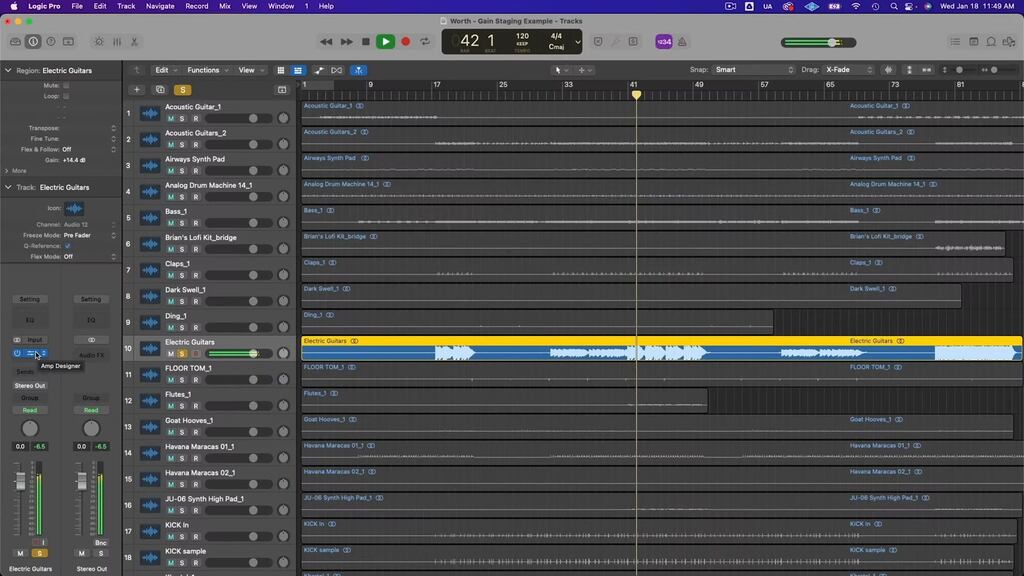
Once the signal is inside your DAW, you should keep a few things in mind to make your life easier and keep your audio sounding great.
Ideally, each audio track is between -12 and -18 dBFS. This leaves enough headroom for mixing and mastering but is loud enough so you don't have to crank the gain at any point.
If you have to lower the gain of your tracks, try to do it with a plugin and not with your faders. Ideally, you start your mix with all faders at roughly the same level. This makes it easier to mix and is a good best practice.
Another helpful technique is to have unity gain with each of your plugins. It means that your input and output levels are the same. This makes it easier to judge if your plugin adjustments are improving the sound.
If a plugin makes your signal louder, your ears will always think it sounds better.
We hope that this blog helped you achieve better recordings and that you understand why gain staging is essential. If you have any questions, you can always reach out on social media or through email.
Make yourself heard.
Related stories
How to record your electric guitar at home
It’s time to take your guitar playing to the next level and record your music. We’re here to help.

Microphone self-noise
Have you ever read through microphone specifications? Then you will encounter the “Equivalent noise level” measurement, sometimes called self-noise. In this…
How to prevent clipping in your audio signal
Nothing ruins a good recording more than clipping. You performed great, sang your heart out, or played the riff just the right way, and you are super happy…