
Blog
True love for great sound unites us.
Blog
True love for great sound unites us.
Feeling like recordings of others just sound better than yours? You’re not alone.
This blog doesn’t go into detail about every technical aspect of audio recording. Instead, here’s a list of things to consider for your home recordings like podcasts, vocals, instruments, or even home office meetings via Zoom.
By ticking all boxes of this list, you can make sure that your sound and recording quality will improve immensely.
From my experience, doing at least one of these things will already improve your vocal, podcast, or instrument recordings to the extent that even untrained ears immediately hear the difference.
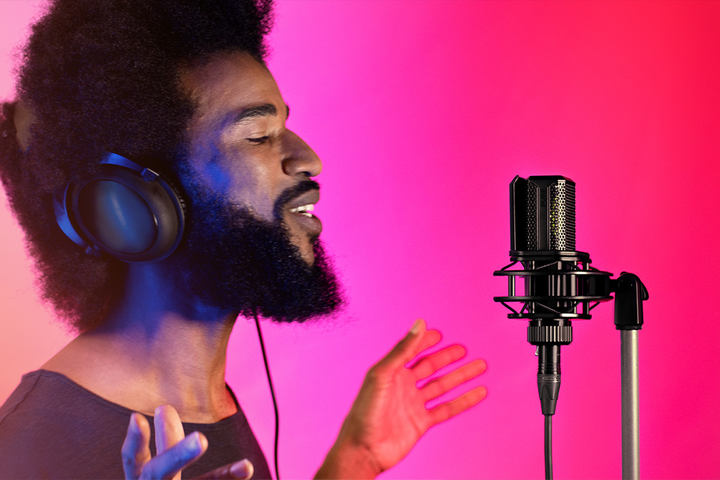
The position and distance to your microphone have a huge influence on your overall sound.
If you’re too far away from your microphone, you’ll get too much room sound and it’s not your room you want to record, right?
If you’re too close to the mic, the bass frequencies increase and your recording might lack definition.
Start from a 15-30 cm (about 1 ft) distance and find your personal sweet spot.
Before you hit the record button, check your surroundings for noise. It might come from inside your place or from outside.
Every noise source that you can remove or at least reduce will help to achieve better-sounding recordings.
You will most likely have a cardioid polar pattern in your mic, so try to position the backside of your mic towards the noisiest thing you can't get rid of (a laptop for example). A cardioid polar pattern will pick up the least sound from the back of the microphone.
If you want to learn more about different polar patterns, then this blog is for you.
We don’t want to go into details on acoustic treatment here (we do it in this blog), but there are some small things that you should keep in the back of your mind when recording your voice, vocals, or instruments.
When creating recordings, avoid speaking or singing against a plain wall. Sound waves reflect off surfaces like a mirror.
If you’re looking for a quick fix, use bookshelves or a wardrobe to your advantage.
Position your mic accordingly and sing or speak in the direction of your books or clothes. Doing this will provide a drier and cleaner sound, and you’ll immediately hear the difference (for the extra mile, you'll also fix the plain reflective surface above your head called the ceiling).
Hold your hand in front of your mouth and pronounce “Peter Pan”. You will notice that P-s produce a burst of air. These sounds are called plosives and will sound very disturbing on your vocal recordings.

Plosives lead to 1) unpleasant low-frequency artifacts in your recording and/or 2) distortion in your audio interface. A microphone pop filter can protect your microphone from plosives and ensure a clean recording.
Btw, a pop filter or pop screen also helps to keep a consistent distance to your microphone.
You can learn most from listening to and learning from your recordings. All points mentioned will benefit from it. Check if your signal sounds balanced, or if it would make sense to get a bit closer to your mic. Check your recording if there’s background noise that you missed, or if there’s too much reverb or reflections going on. Adapt and check again.
Every little step is a huge win. Try it out, you won’t be disappointed.