Blog
Blog
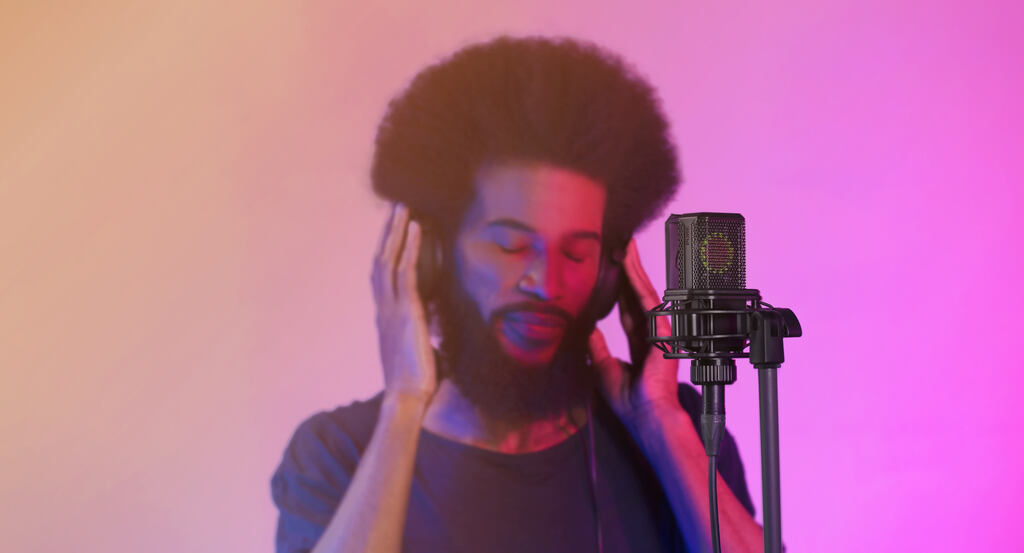
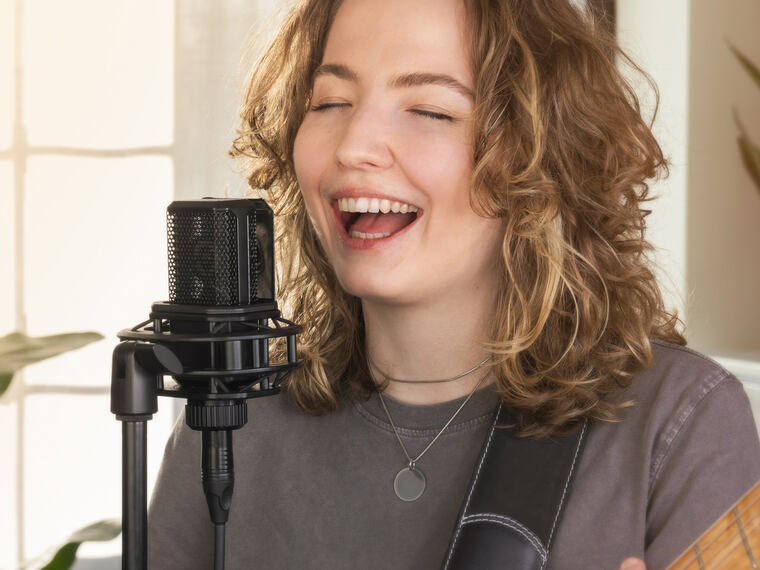
Vocals can make or break a song. Having a compelling vocal sound is critical to pulling in the listener and getting them to connect with your song. These are my 10 tips to help you get an amazing vocal sound from your home studio.
I’ve been producing my own music for the last 10 years and freelance mixing for other artists the past 3 years, primarily working out of my home studio. As a result, I've learned a lot through trial and error about how to optimize your home setup and your technique to get professional vocals every time.
While I’m going to be speaking from the standpoint of recording yourself at home, these tips apply if you are recording someone else too. Let’s jump into it.
Check out the video below if you prefer to watch a video about the topic. It teaches the same concepts and knowledge.
One of the best things you can do to improve your results is experiment and learn your gear. Block out some dedicated time to experiment and try out all your microphones on vocals and note what you like or don’t like about each of them.
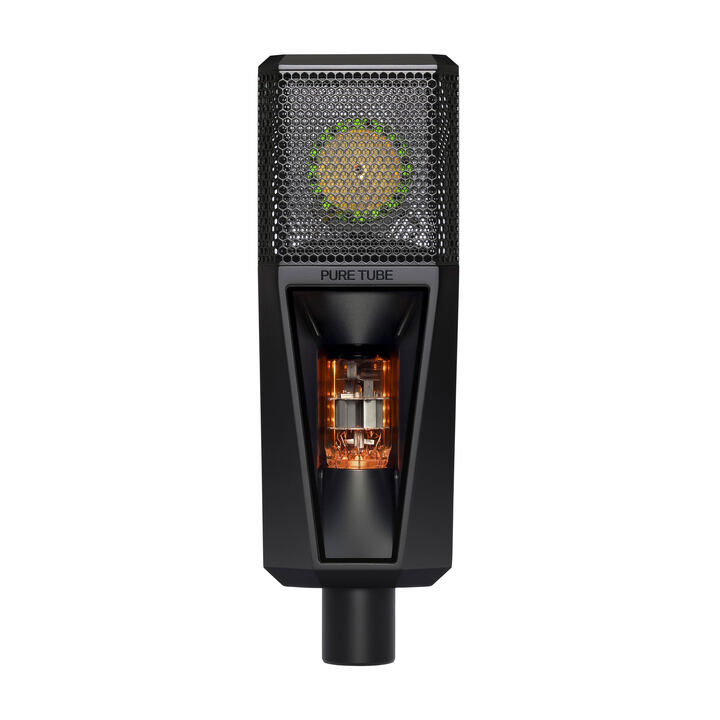
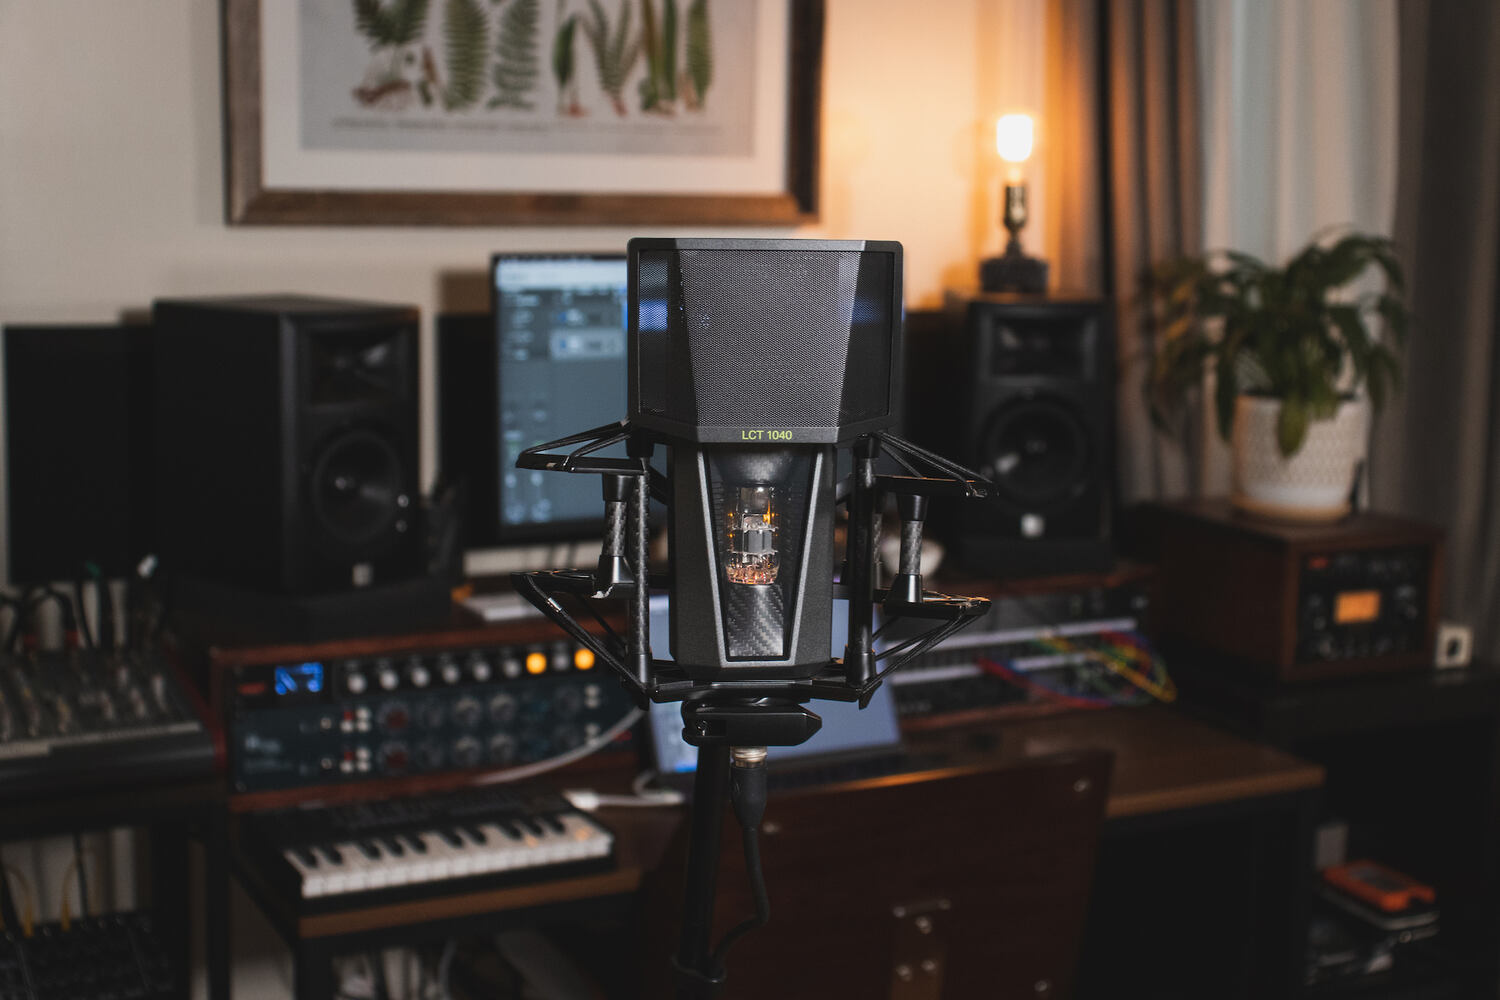
Sure, most people use large diaphragm condensers for vocals, but that doesn’t mean that’s the only option or even the best option. Keep an open mind and try using dynamics and condensers—whatever you have on hand. There have been plenty of hit records made with humble dynamic mics that you'll find in every home studio.
Btw, here's a nice read on the pros and cons of using a condenser vs a dynamic microphone.
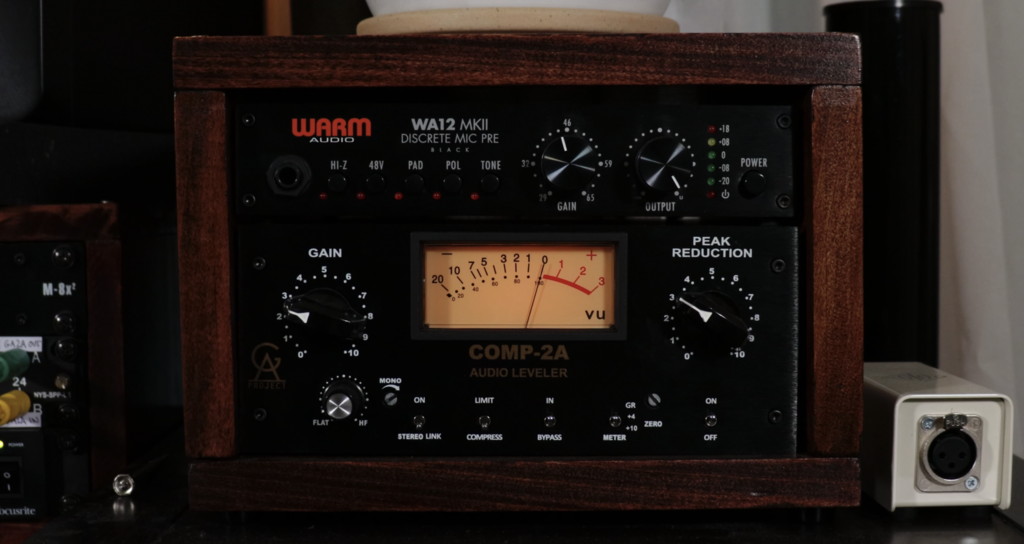
If you have other gear like compressors and outboard preamps, be sure to test them out in different configurations as well. And even if you don’t have a lot of gear, you can still experiment with other variables like microphone angle and distance to achieve different sounds with your microphone.

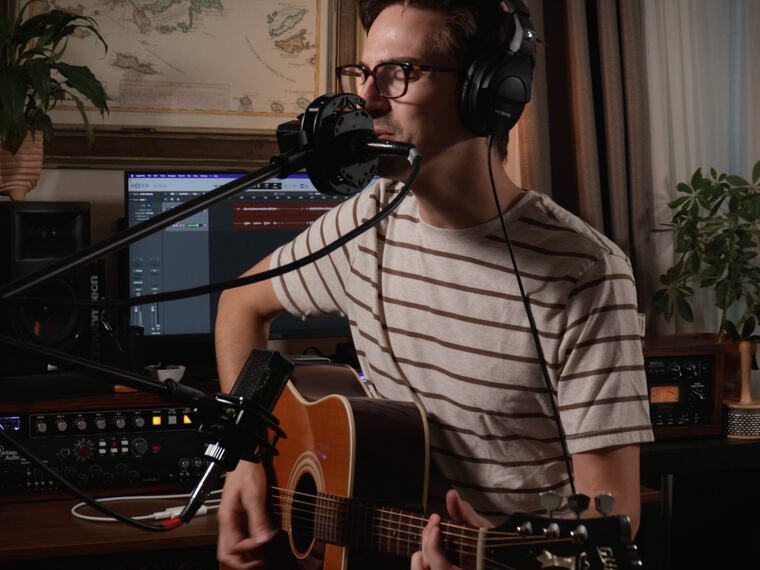
Microphone placement has a huge influence on your vocal recording. Experimenting with both your angle and proximity to the microphone can drastically change the sound of your vocal recording and open up new creative options.
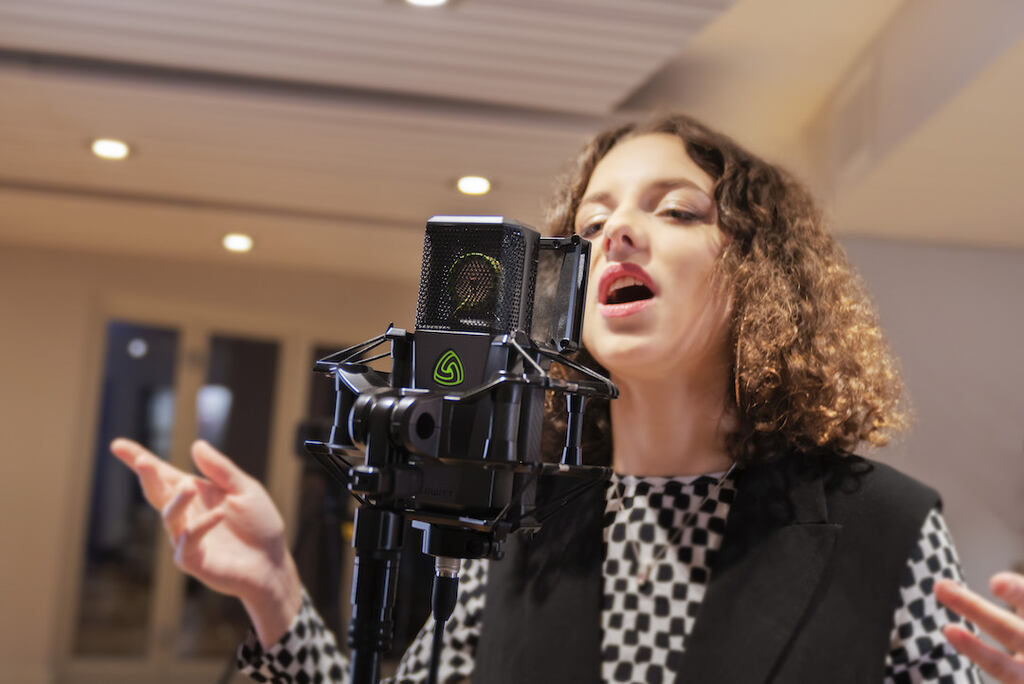
Adjusting the microphone angle is one subtle but significant way you can alter the tone of your vocal recording.
1. Pointing the mic slightly down towards the chest will add more fullness to the vocal.
2. Pointing it slightly toward the singer's nose or forehead will add more presence and nasal qualities (I know, seems a little on the nose, right?).
Be mindful that this technique tends to work better with a more directional polar pattern like cardioid. In contrast, omnidirectional will have almost zero off-axis coloration, and supercardioid might have too much off-axis coloration.
Off-Axis coloration
In simple terms, this refers to a change in frequency response resulting from a source not being directly in front of the microphone.
The angle of the microphone can also be used to avoid plosives. By placing the microphone so that it is angled towards the vocalist’s mouth but not directly in front of it, you can avoid bursts of air from plosives consonants like “P” and “B” from hitting the capsule directly. While this is a useful technique in a pinch, it’s much more practical to use a pop-filter instead so you can use angle as a creative tool rather than a necessity.
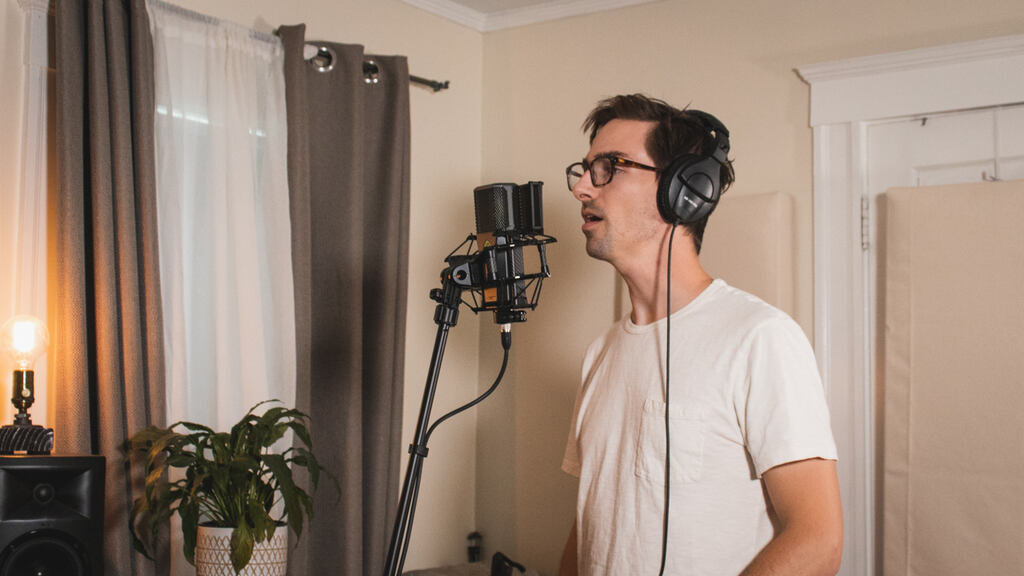
Now let’s talk about a more familiar variable of mic placement: proximity.
Proximity effect
In recording, this refers to the exaggeration of low frequencies created by the close proximity of a microphone to a source. Check out our blog article if you want to learn more.
Recording vocals close to the microphone can provide pleasing warmth and detail but it also can result in a boomy, muddy sound that decreases intelligibility. On the flip side, being too far from the microphone can result in a thin, midrange-focused vocal sound that doesn’t flatter the singer. Another factor that plays into proximity is the amount of room ambiance that you capture.
You can think of distance as a kind of compression. As you get further from the microphone, level differences become less distinct, resulting in less dynamic variation in your vocal performance and more audible room reflections. Conversely, if you are recording vocals close to the microphone, you will get better isolation of the vocal from room reflections, but you will also get higher dynamic variation making it easy to overload your input levels by accident.
I usually recommend experimenting with mic placement between 5 and 8 inches, but your results may vary depending on your voice and microphone. Some microphones are made to handle very close proximity, while others need extra space to sound their best.
Ideally, you want to record in a location with some kind of acoustic treatment like sound absorbing panels, but if that is not available then make sure to choose the room wisely.
Try and record in a room with soft furniture and surfaces rugs, couches or beds. Avoid rooms with only hard surfaces.
A simple test is to clap in the room you want to record in and see if there is an obvious slap back echo.
Another great DIY solution is to place a heavy blanket over a microphone stand as a baffle. I will usually place this behind the vocalist to reduce any reflections from the back wall from getting to the microphone. Reflection shields placed in front of a vocalist can also be useful to reduce reflections in the room but work better in combination with a rear baffle since cardioid microphones already do a great job of rejecting sound coming from behind them.
Many people may recommend using a closet as a DIY vocal booth, but this can create its own problems. Recording in a small confined space can produce a boxy, muddy sound unless you have very thick acoustic treatment. Instead of setting up inside the closet, I recommend opening your closet and placing the mic in front of your clothes to act as an acoustic baffle.
Be aware of your placement within the room as well. Avoid being too close to corners where bass frequencies build up or being too close to a wall or window where sound reflects. If you are recording yourself, set up in a location where you have easy access to the record button and clear sight lines to the meters. It’s easy to overlook clipping and good recording level habits when you don’t have a good view of the meters on your interface or DAW.
Another thing to be aware of is computer fan noise. If you have a newer computer, this might not be much of an issue, but older machines will have a loud fan turn on when the computer warms up, so be mindful of your distance so you don’t ruin a perfectly good take.
Getting a good headphone mix is vital to enabling a great vocal performance. Make sure you have a good balance of your vocal against the background music so you can sing comfortably without under or over singing to compensate for the level your hearing in your headphones. If you need more vocal level, avoid turning up your preamp at the expense of your gain structure. Instead turn down the music so that you can monitor your vocal at a comfortable relative level.
Pro tip
If you don’t have an interface with headphone mix options or direct monitoring, a way to work around this is to bounce the instrumental and drop it in a new session. This allows you to adjust volume balance easily and avoid extra latency from the plugins on your mix.
Another part of a good headphone mix is the effects. Reverb can help a vocalist sing with better intonation due to the lingering resonance of the reverb tail.
Reverb also can smooth over imperfections and make you more confident about what you're hearing in your headphones—it's why people love singing in the shower.
It’s also a good idea to monitor with certain creative effects if you know you will use them in the mix. If you use heavy slap-back or distortion, try adding them to the headphone mix you are monitoring, and you may find that they affect your performance in a positive way. You will sing differently in reaction to the effects you're monitoring with, allowing you to work with the effect and use it to enhance your performance.
Before jumping into this tip, I have one big caveat. Some experienced singers prefer to do full takes and get the best performance that way. I’ve recorded amazing vocalists who are very well rehearsed and can nail it in one or two full takes. If that’s you, more power to you. For us mortals—recording section by section can be very helpful.
Why is recording in sections helpful?
Recording section by section can help you focus on the emotion and delivery of each section of the song and avoid fatigue. When I say “recording in sections”, I am referring to standard song sections like a verse, chorus or bridge. Recording by section allows you to focus on the rhythm, cadence and emotion of a vocal part in smaller, more manageable parts. This can especially be useful for experimentation in your performance because you can be much nimbler with recording back-to-back takes.
Recording this way also allows you to adjust your gain settings between the verse and chorus which are usually quite dynamically different. “Working the mic” (adjusting your distance from the mic during a performance) too much can create slight tonal differences that may be undesired. For example, if you back off too much in a chorus then your voice might sound thin and roomy compared to the verse.
Bonus tip: Try quieter sections like verses first and louder sections like choruses last to avoid tiring out your voice.

As much as possible, try and avoid doing more than 4-5 takes of a section because you tire your voice and often start to lose emotion the more takes you do. This will also make comping a take much easier because you won't have to sort through dozens and dozens of versions later.
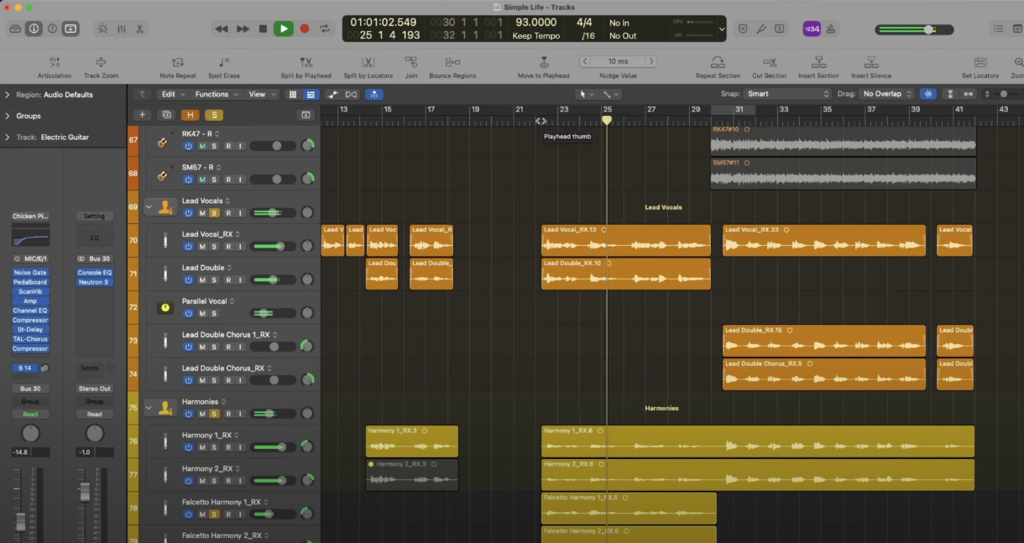
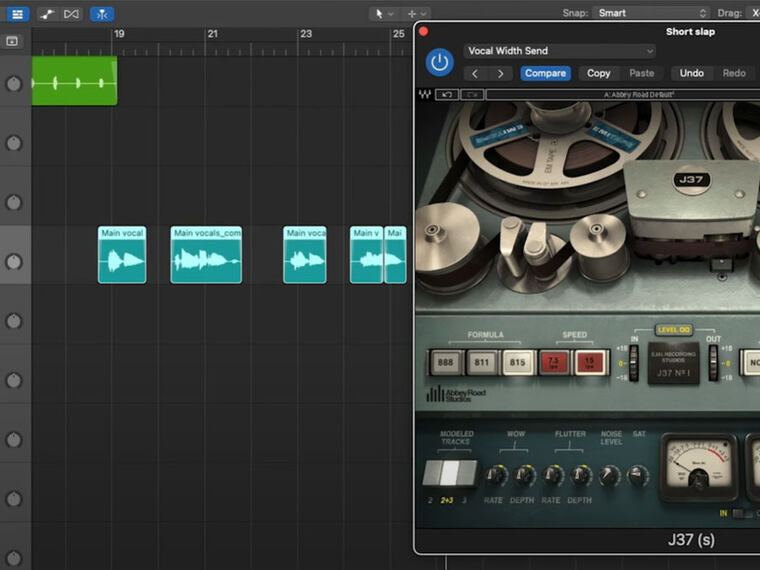
Comping refers to the combination of multiple vocal takes into one “perfect” take using different sections of each take.
I often find that when singers do more than 5 takes, they aren't necessarily getting a better performance, just a different one. It's easy to lose perspective by repeating a section too many times, so if there aren't clear and obvious mistakes, trust your first 4-5 takes and move on.
If you are having trouble nailing a vocal part, don't be afraid to step away and come back to record again later if you're having an off day or need more practice—just be aware that takes recorded on a different day might not be cohesive with earlier takes when you come to editing your vocal comp.
The human voice is a very dynamic instrument and vocal recordings generally need a lot of compression to manage the wide dynamic range. Using a little compression while recording can really help tame the highest peaks and smooth out your performance. I usually use an optical style compressor because it just has one dial for compression, and it sounds very natural and transparent in small amounts. I aim for 2-3dB of gain reduction at most. You just want to push back the loudest peaks. You aren’t trying to do all of your compression during the tracking stage, but just tame it enough to make mixing easier later.
Compression can also affect your confidence and enable a better performance. Often singers will self-correct if they have too much or too little of their vocal in their headphones. This results in singers over singing softer sections and under singing louder sections. Using a compressor can help tame the wild level dynamics and enable a more dynamic emotional performance. If you don’t want to commit to compression during recording, you can just monitor with compression on your headphone mix and still get a lot of the same benefits.
Don’t forget the record vocal doubles! These are great for adding texture and width in choruses or emphasis on certain words and phrases. Try recording two additional layers of a vocal part so you can pan hard left and right to add stereo width to a chorus or punctuating important words and phrases with doubles.
Natural vs. Artificial vocal doubling
Artificial doubling can be a great creative effect and is used all the time in vocal production. It has it’s own unique sound and character. However, artificial doubling doesn’t sound as natural as true vocal doubling because it can’t mimic the natural variation of pitch, timing and articulation of two distinct performances.
Here is a sound example of a single vocal and one supported with panned vocal doubles.
If you are singing your own background vocals, use a different mic to create more depth and separation from your lead vocal. The slight variations in tone allow background vocals to sit in their own unique space in the mix. You can also experiment with other variables like polar patterns, signal chain and mic placement to create variation in your background vocals. Often, I’ll use a different mic and preamp for my background vocals and typically aim to make them a little more compressed and a little darker sounding, so they sit further back in the mix.
Keep track of which vocal takes felt really good and why while you’re in the process of recording them. It’s easy to lose perspective after repeated listening, so be sure to capture your first instincts. It will also save you time when editing the vocal comp later because you will know which vocal takes to consider first. I love using Apple notes because they appear on my phone and my laptop, making them accessible wherever I need to reference them.
Related stories
How to record vocals at home
Do you want to record vocals at home? Are you unsure how to get started or how to achieve great results? Then you have come to the right place. We are a company…
Record vocals and guitar at the same time
Recording vocals and guitar at the same time can often yield great, authentic performances from singer-songwriters, but having isolation between the two gives…
5 easy tips for perfect vocal delay in your mix
An outstanding vocal performance is the heart of many songs, but even the best vocals can fall flat without the right effects. Hi, I'm Brian, and today, I'm…
Best microphone for recording vocals
Are you looking for a vocal microphone but need help deciding which one to get? Let us help you out. We have produced microphones for over 10 years and sold…