Blog
Blog
With all the fancy new and affordable recording tools on the market, it’s easy to be overwhelmed with all the options available. It’s also easy to end up spending a ton of money on gear that gives you minimal results. There are a ton of brands vying for your attention, but will that "phattener” plug-in really give you a phatter mix? Should you upgrade to gold-plated XLR cables instead? (answers: maybe, and no)
Being an audio manufacturer, we know a thing or two about getting good sound. And so we’re making this blog to help you avoid buying stuff you don’t need and focus on upgrading the aspects of your setup that matter the most. Beyond just microphones, we’ll cover the entire signal chain from the source to the final mix.
Who is this blog for?
We want this blog to be helpful to anyone who records at home, and wants better sound for their recorded music and content. If you're completely new to home recording, check out our blog on setting up a home recording studio.
Whether you're suffering from decision paralysis, or compulsively purchase new gear at every opportunity, it’s helpful to go into studio upgrades from a pragmatic mindset. Budget is limited, and prioritization is key. Before purchasing gear, ask yourself the following questions:
What problem am I trying to solve?
Focus on the problem, not the solution. Sometimes it’s not enough to say, “I want to sound better”. Think about your pain points and imagine a situation where you didn’t get the results you wanted. If you could spend money to make the problem go away, what would you spend it on?
Will new gear help me solve the problem?
That new guitar may look nice, but remember how nice your old one was when you first bought it? Remember that many popular artists nowadays record on very minimal home setups. There may be ways you could improve your recording quality without spending much money on gear. This could include ear training, instrument set-ups, or studio improvements.
Who is this product for?
A lot of audio gear is desirable for a specific sound or use case, but is that relevant to your audio needs? For example, autotune is one of the most ubiquitous effects in modern pop music. But do you really need it for your indie rock project?
The better the sounding the source, the easier it will be to mix it later. By that logic, you'll get the most bang for your buck by upgrading gear that is closer to the source.
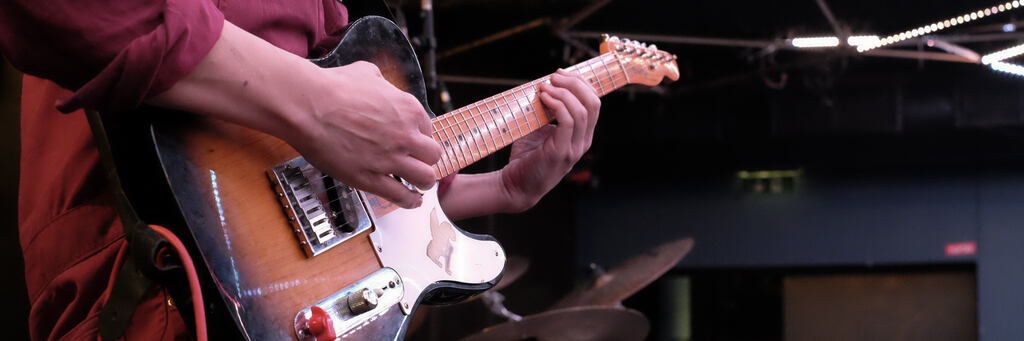
The true beginning of the signal chain is not the microphone but the instrument, so you'll want to use good quality instruments to record. Many engineers are also musicians, so at the very least it's educational and helpful to play one yourself, even if you're mixing or recording for other people.
No matter what gear you have—if the instrument sounds bad, then you won’t get the results you want.
Here are some quick upgrade recommendations that make sense for anyone recording their own music in a home studio.
1. Bass guitar: Even if you compose "in the box", still consider getting a bass guitar! They're fun to play and offer you a much wider sonic pallette for the low end. For those of you making rock music, don't rely on MIDI. Get a bass.
Bass guitars are also great entry-points into playing an instrument, as they're easy to learn but also reward practice and mastery.
2. Full-size MIDI controller: Many beginning home recordists already have a small midi controller or drum machine. Make sure you have a full-size keyboard, and you can get more natural performances.
3. Set-ups: Make sure your instruments are well-maintained and set up.
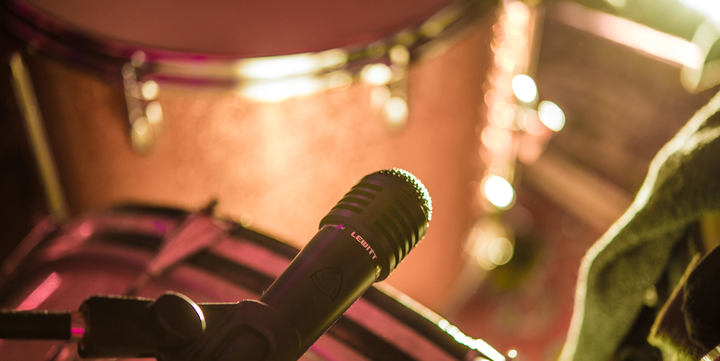
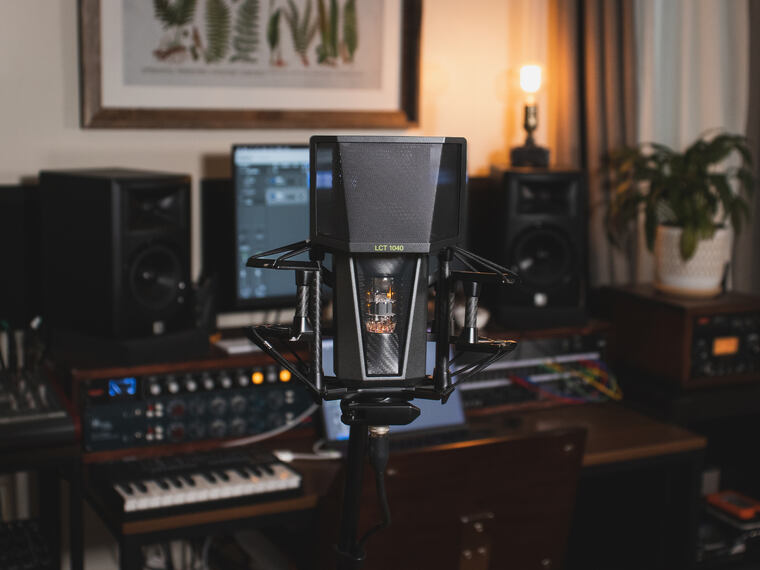
As you would expect, microphones rank highly on our list of gear to consider when upgrading your studio. Mics are the first piece of gear in the signal chain when recording, so you’ll need at least one or two good options for different scenarios.
Most beginner studios have that "one great mic" that's used on everything. So when thinking of upgrading your mic, it's best to get microphones that perform better for specific tasks.
Ideally you want to have an assortment of microphones which give you more creative options when recording
Since your specific use case may vary, we've compiled some helpful content from our blog to help you choose a microphone that meets your needs:
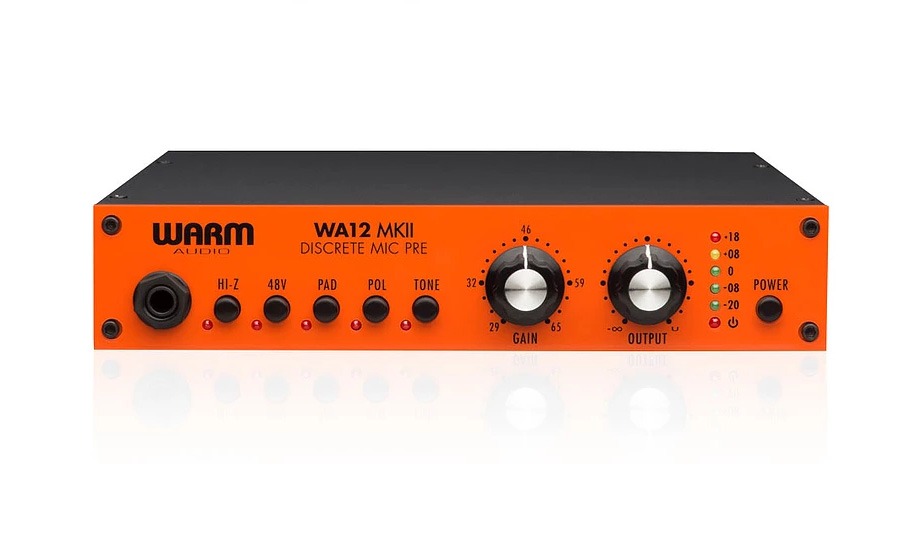
Preamps are a critical element of the recording signal chain. Good preamps will:
Your audio interface likely already contains a preamp, so when upgrading you can go one of two routes:
1. Upgrade your interface: Getting better preamps is a common reason many recordists upgrade their recording interface. Some higher-end options even have extra features like built-in DSP, which can be fun, creative options to give you a good recording.
By the way, we make an interface that meets all of those needs and more. Why not check it out?
2. Buy a separate preamp: It's a perfectly valid option to simply buy a new preamp and plug it into your existing interface. Go this route if you're happy with your existing interface. You'll also have a huge variety of options available at different price points. Here are some of our recommendations:
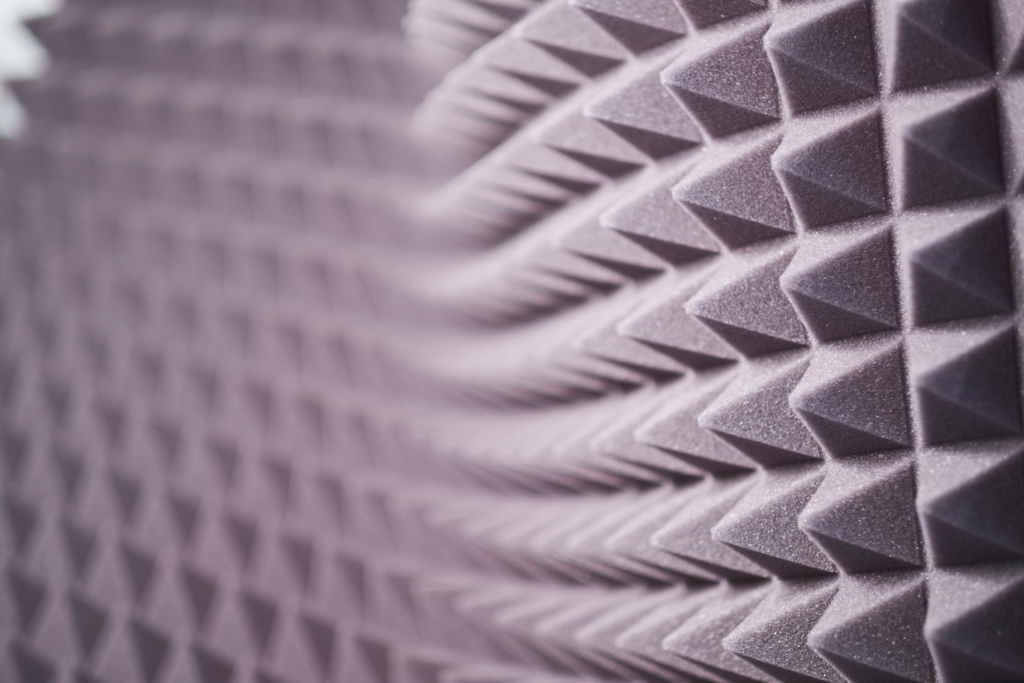
If you have some spare change (and spare room), you can Invest in acoustic treatment solutions. I put this after microphones because you can often figure out DIY solutions to deal with acoustics.
You may want to invest in treatment for your listening environment before you optimize for recording, since this is where you money will go the furthest.
You can drape blankets in a pinch, but purchasing or building Your own acoustic panels might be a better and more aesthetically pleasing option and also helps with monitoring. Having a well treated room will help you get great recording results more consistently.
For more information on acoustic treatment, read our blog on the subject:
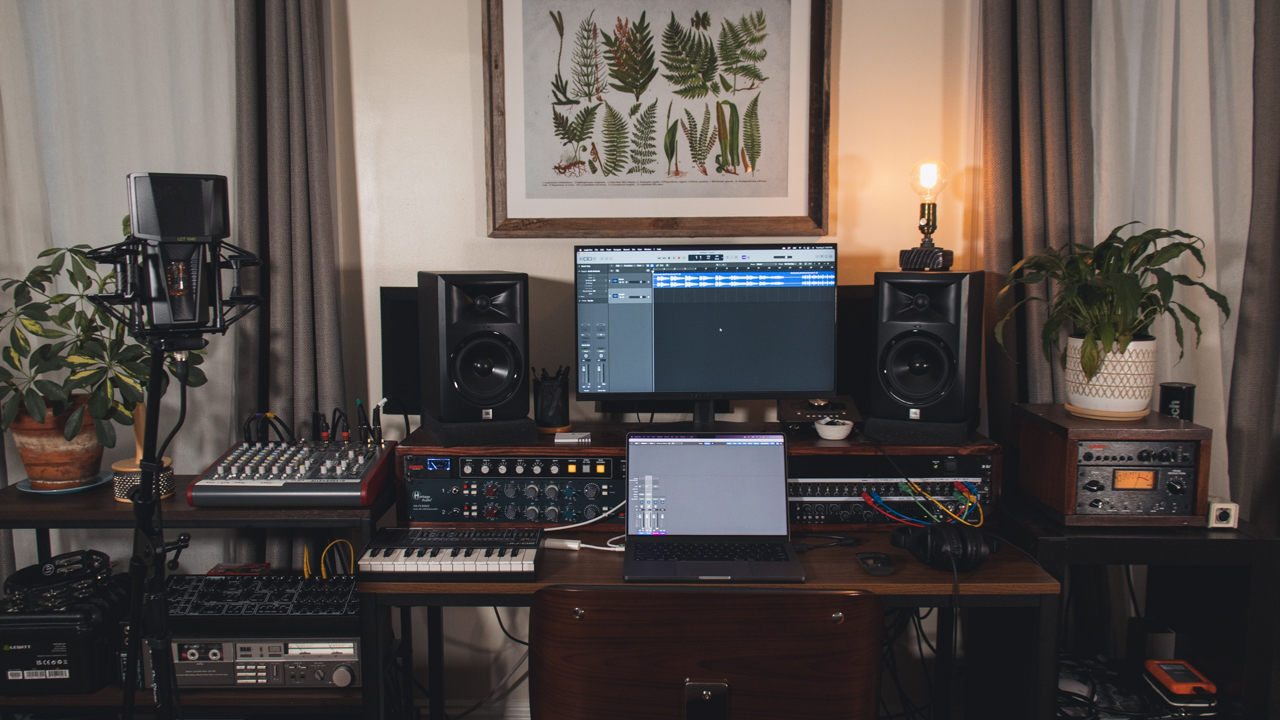
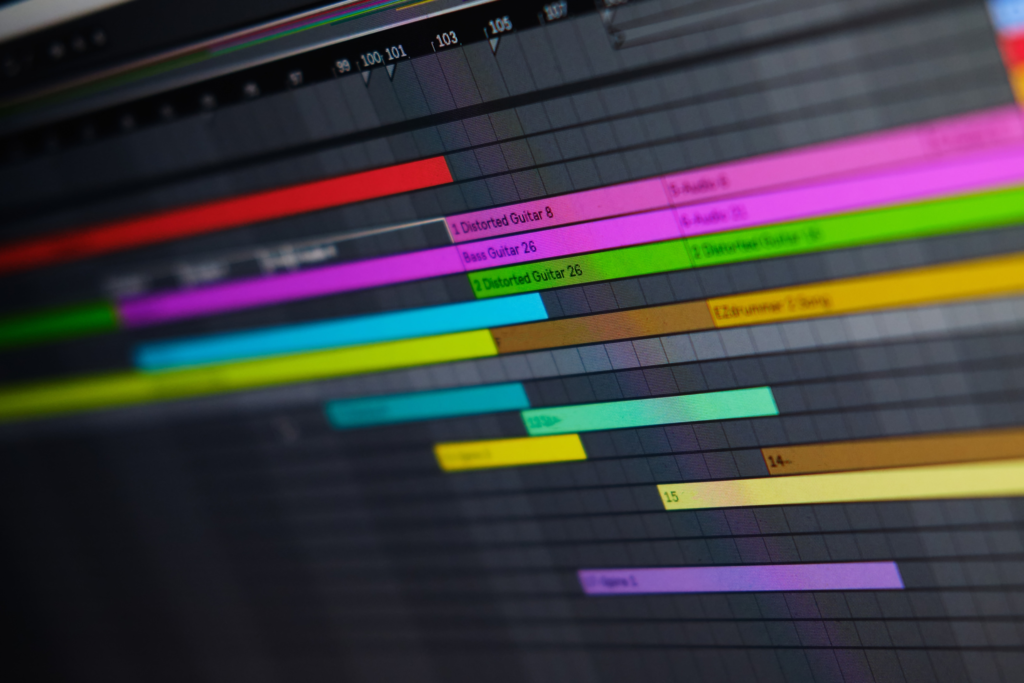
“Mixing” entails any piece of hardware or software you use to combine your individual tracks into a final mix. This includes your DAW, software plug-ins, outboard gear, and monitors.
Many new artists don’t realize that mixing is a separate discipline from recording and requires a different mindset.
Traditionally, mixing and recording engineers were separate roles in the studio. But with modern home recording gear, it’s more than possible to fulfill both roles effectively with minimal setup and budget.
Let's go through some basic categories you can focus on when upgrading your mixing game.
Our first recommendation when thinking about upgrading your mixing tools is to take an assessment of what you already have. If you have a recording interface, chances are it already comes bundled with some basic recording software and effects plug-ins.
Keep in mind that a skilled mixing engineer can create a polished mix using just the stock EQ, compression, and other plug-ins that come bundled with a Digital Audio Workstation.
Sometimes the most important investment you can make is in yourself through education and experience. With enough knowledge, you'll be able to use your existing tools to get better results. Here are some helpful educational sources:
With every new tip you learn, your mixes will sound that much better!
You won’t generally need to “upgrade” your DAW if you already have one. The best DAW is the one you already own and know how to use. The only times you'd want to consider buying a new DAW are:
If you’re in the market for a new DAW, here are some of the most common options:
Steinberg Cubase: Along with Pro Tools, Cubase ranks among the top choices for most audio professionals around the world.
Avid Pro Tools: Along with Cubase, it’s a top choice for many professional and home studios in most music genres.
Apple Logic Pro: Logic has largely the same capabilities as the above DAWs but offers a slightly friendlier interface and a plethora of great plugin and virtual instrument options. Recommended if you’re coming from Garageband.
Cuckoos Reaper: A powerful, affordable, and open-source DAW suitable for music production, mixing, and mastering. It offers a generous free trial, so it’s recommended for studios on a budget.
Ableton Live: Although a fully functional DAW, Ableton Live offers tools and workflows geared toward music creation. Highly recommended for hip hop and EDM producers. Due to its creative focus, Ableton is a great DAW to use alongside those listed above to audition new song ideas.

This is a slightly different situation from recording acoustics. In a recording scenario you are striving for optimal placement in the best environment that represents the source. In mixing, your environment is what it is, and acoustic treatment mostly deals with eliminating the deficiencies of that space.
In fact, treating your listening environment is even more important than upgrading your studio monitors, as even mediocre monitors are usable if you can hear them well enough to mix around their flaws.
If acoustic treatment is logistically challenging in your space, then you might need to rely more on headphones. Calibration software like SonarWorks reference tools can also be helpful to make up for tonal balance issues in your room (although it can’t replace acoustic treatment completely).
Once again, please refer to our blog on the subject if you need more information.
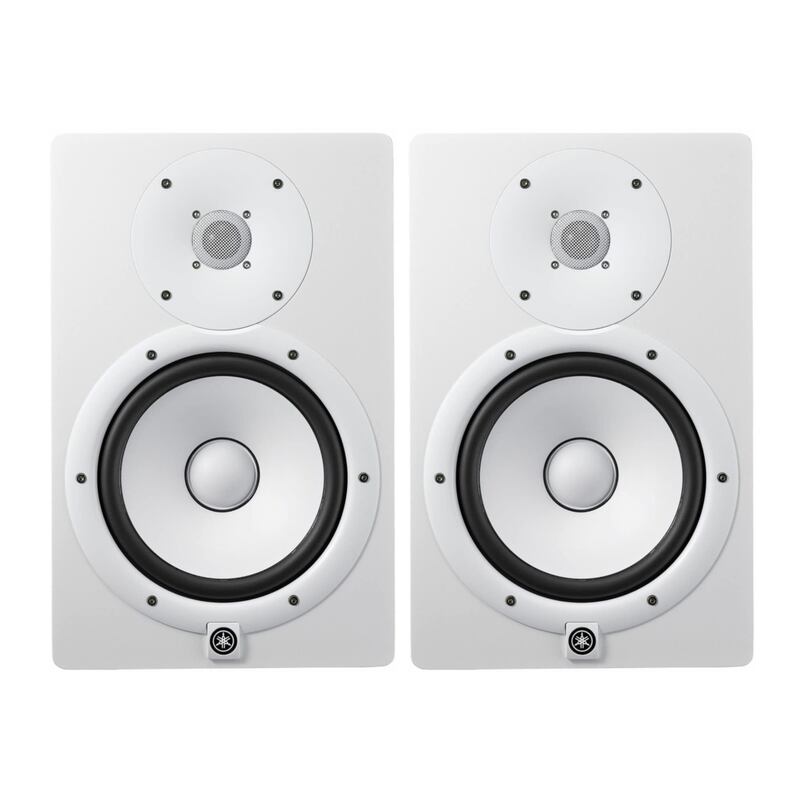
If you’re in a well-treated listening environment, you absolutely should invest in near-field studio monitors for the most accurate representation of your mix. However, if your mixing room isn’t treated, then monitors will not help you as much. In these cases, you should also invest in a good pair of studio headphones.
Here are the main reasons you might want to purchase new studio monitors if you already have them:
More wattage: More powerful monitors give you more headroom to work with, and it also can impact the detail of the sound. Having more headroom and the ability to hear more of your mix will result in better mixes, so if your monitors aren't very powerful then it may be time to upgrade.
Larger (or smaller) size: You need monitors that are appropriate for the size of your room. If you're in a smaller space, you can stick with smaller-size monitors. But if you're in a bigger room, you may need bigger speakers to hear properly.
Subwoofer capability: Whether you need a subwoofer or not depends on the type of work you're doing. If you make bass-heavy music designed to be played through loud club speakers, or are mixing music for film that uses a dedicated LFE track, you absolutely need one. For all other use cases, your mileage may vary.
Additional reference monitors: It may be worth using two sets of monitors to use as a reference. Experienced engineers often switch between different sets in order to gut check their mixes or monitor specific frequency areas. If you have the space, a second pair of monitors (along with a decent monitor switch) can be useful.
Because there are so many different types of plug-ins you can buy, it really has the potential to be a black hole in your studio budget. Luckily, out of all the categories we’ve listed so far, plug-ins are probably the least essential.
As we’ve stated above, chances are your DAW already comes with a set of plug-ins that should more than cover you for the basic tasks of mixing. Once you’re familiar with how they work, you may consider buying other plug-ins that sound better, work faster, or impart a unique tone.
That being said, there are certainly some plug-ins that are worthwhile purchases:
De-noising and audio cleanup: Invest in plugins that let you fix audio problems or help you solve unique workflow issues.
Pitch correction: An important tool for many artists which can be hard to come by among stock DAW plug-ins.
Mastering software: If you’re a solo artist producing their work end-to-end, it’s worth looking into mastering software.
Special sauce: There are many “creative” software mixing plug-ins that may not be practical but are simply fun to use or provide unexpected results. Mixing can be an arduous task, so don’t neglect the fun toys that make you “want” to mix!
Time savers & workflow solutions: Some plug-ins don’t fit into a specific category, but solve a very unique or specific problem that’s common in mixing. Your DAW probably doesn’t have these, so they’re definitely worth a look if you have the budget.
IZotope Tonal Balance Control 2: Another metering tool, Tonal Balance Control 2 lets you gut-check your mix against a variety of genre-specific targets.
We hope this guide has given you some inspiration on where to start when upgrading your studio. With all the gear out there, the options for upgrading seem limitless. Just remember what we mentioned in the beginning...the best upgrades are experience and skill. The rest is just finding the right tool for your particular style. Let us know on social if you have any questions, and good luck in your studio journey!