Blog
Blog
Your microphone sound is not quite there? And you want to make your mic sound better?
In this blog, you’ll learn 5 easy things that will improve your overall microphone and recording quality. You’ll hear the difference right away, and they are super easy to implement.
Check out our blog "How to improve video chat audio", if you are not using an external microphone at all.
Let’s get started.
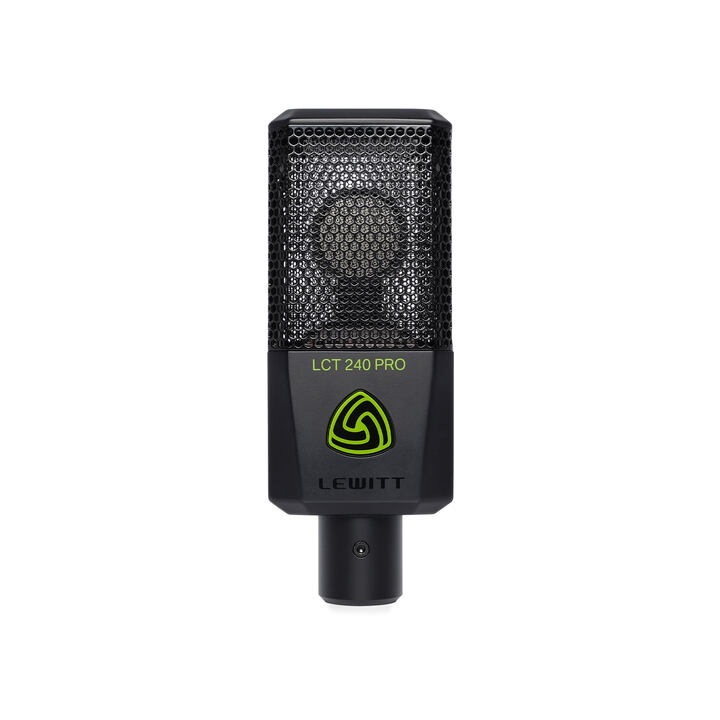
You are using the microphone from your notebooks and wonder why you don't sound like your favorite streamer or musician. Well, nothing beats an XLR microphone for professional recording. These studio-quality microphones capture most things you listen to—music, podcasts, news, movie scores, and ads. And you don't need to spend thousands of dollars on professional-quality equipment.
If you are an audio aficionado, consider buying an XLR microphone and an audio interface and close the chapter.
Get this to upgrade to studio quality
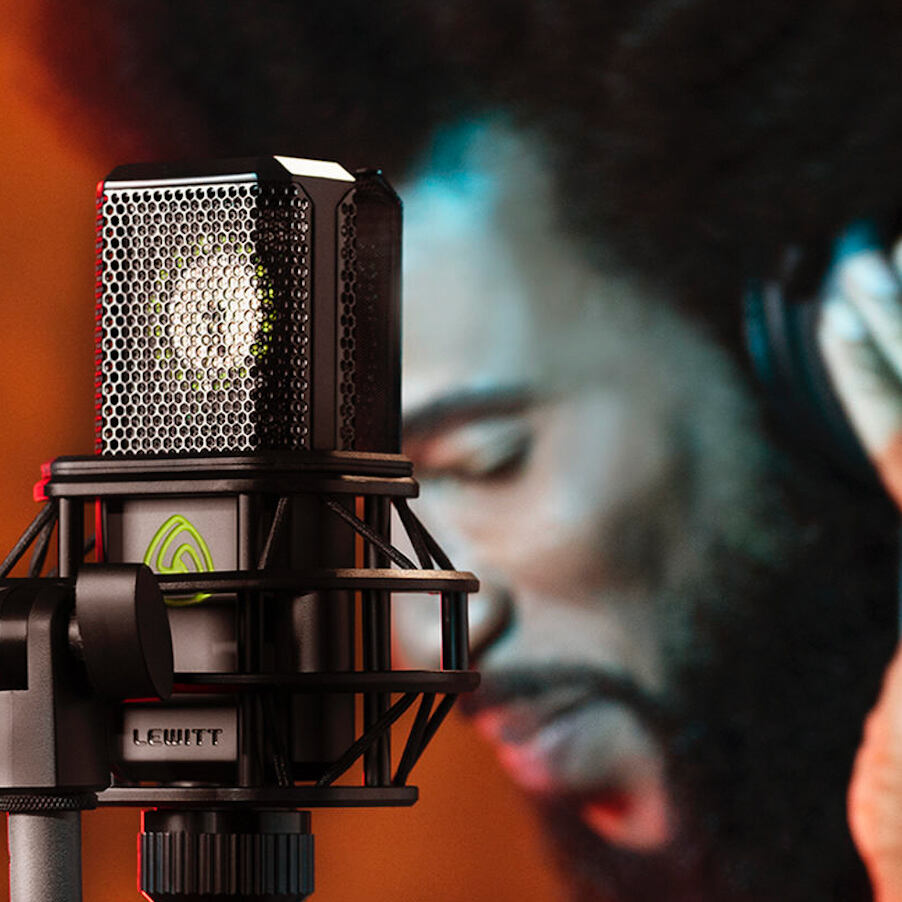
Music videos tell us we should be as close to the mic as possible. BUT there’s one thing to consider if you’re aiming for better intelligibility and higher clarity.
For best results, keep the right distance to your mic. Usually, that’s between 15-30 cm (6-10 in).

Always use a pop filter for vocal recordings. Plus, the proper distance helps to reduce plosives. Plosives occur when someone inexperienced is using a mic and talks about a certain Peter Piper who picked a peck of pickled peppers. Repeat the sentence while holding your hand in front of your mouth and you'll know what a plosive is - a powerful burst of air.
Between 15-30 cm (6-10 in), you’ll get a natural sound. Increase the distance and your voice will sound thinner. When you get closer, your voice sounds fuller but less precise.
Btw, the fullness or bass boost comes from the so-called proximity effect.
Also, try to keep the distance to your microphone consistent (!), and try to avoid moving around too much while recording.
More freedom with RAY
If that sounds too restricting, there is a special microphone that solves this particular problem. We have developed a microphone with autofocus for your voice. It measures the distance from the microphone and adjusts the tone and level of your voice automatically. Check out more about RAY and the autofocus feature on the product page.
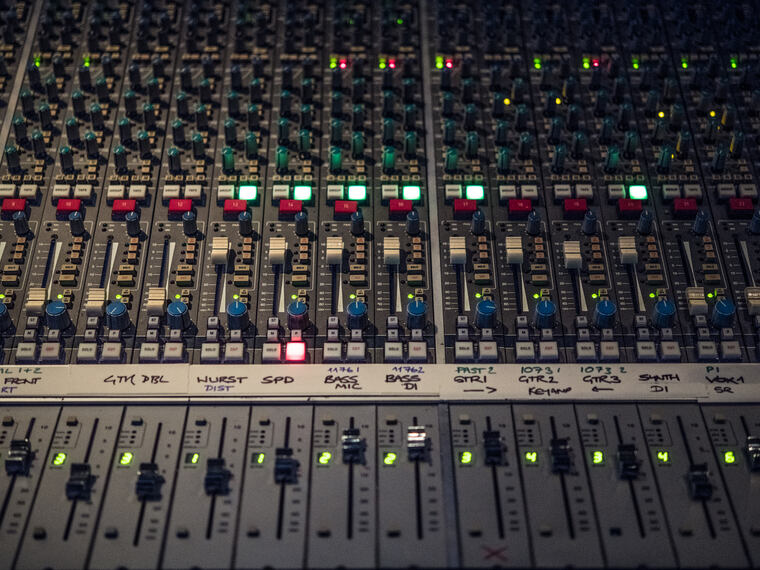
“I can’t hear myself. I probably need to crank the gain on my audio interface.” Meh, maybe you're wrong.
Cranking the gain too much may lead to clipping (digital distortion), making your recordings basically useless. Plus, usually the gain level is not a problem (unless you use certain low output dynamic microphones).
Check your headphone output first before you crank the gain.
After checking your headphone output, set the microphone gain.
Autosetup sets the gain for you
A few modern interfaces have made it very easy to set the perfect gain levels. Our two audio interfaces have Autosetup features and many additional useful functions to get the perfect sound. Check them out!
Before you hit record, always check for background noise. This can be computer fans, an annoying sibling, whatever disturbing sound you can remove, the better and cleaner your recordings will be.
The room you’re recording in heavily influences the quality of your recordings.
A microphone records everything it can, also your room and everything that’s in there.

If you’re recording vocals or instruments at home, aim for a dry sound. Dry refers to the influence of your room or how audible your room is on the recording. Snap your fingers or clap your hands to hear the reverb of your room. The shorter it takes to ring out, the drier it is.
A dry recording has many advantages:
There are different options to achieve a dry sound at home.
Check out our blog about acoustic treatment for recording and mixing.
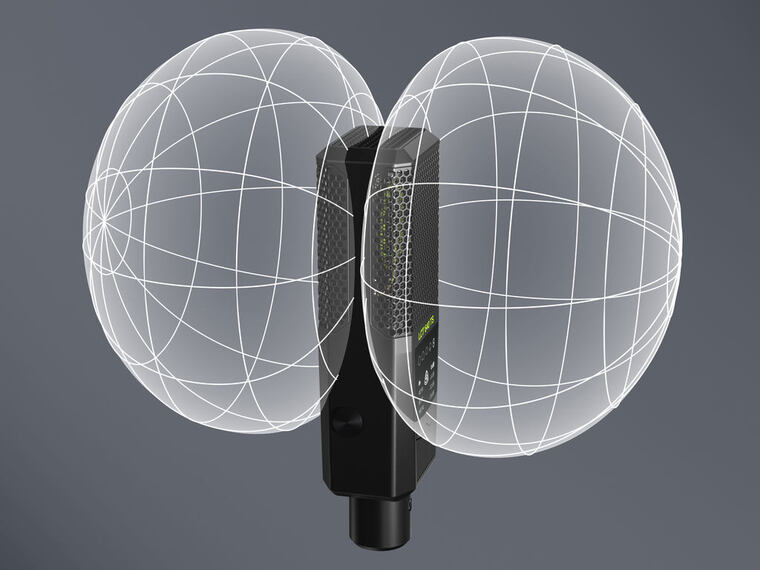
Even if your mic position options (or room options) are limited — you can use the directivity of your microphone to your advantage.
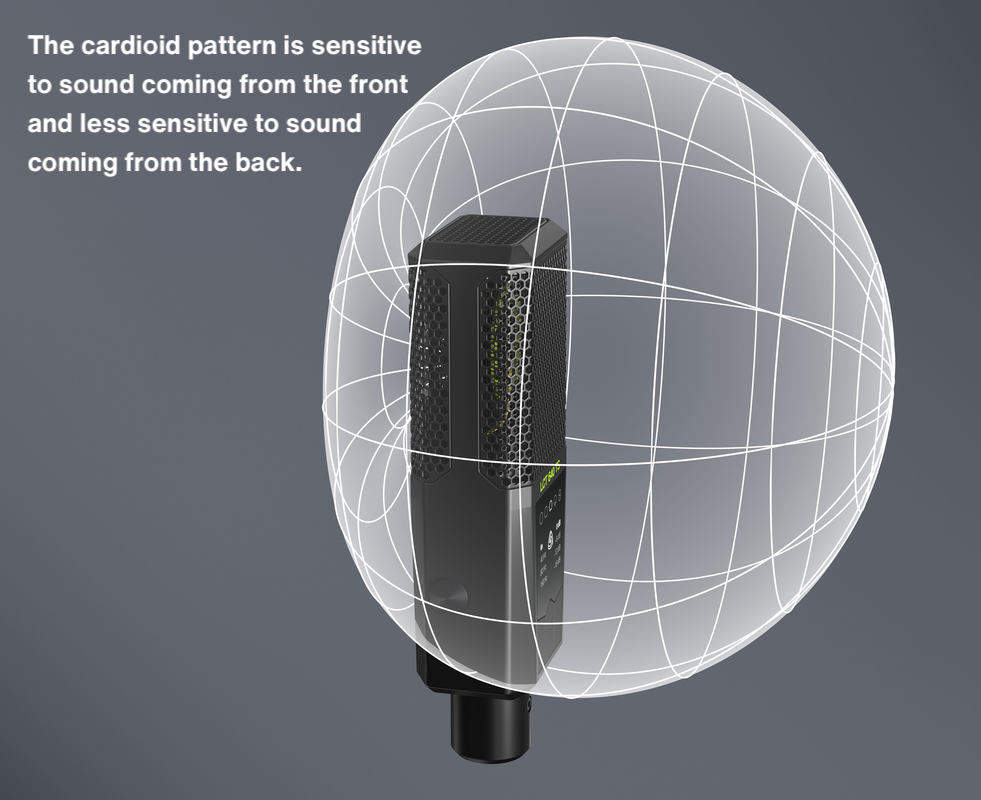
Most XLR and USB microphones come with a cardioid polar pattern. You cannot go wrong using cardioid for most recording applications.
A cardioid pattern is sensitive to sound coming from the front and is less sensitive to sound coming from the back of the mic.
It is easy to get a dry signal with a cardioid pattern. Everything behind the microphone will be dampened, e.g. a noisy fan from our computer, so make sure you use your microphone position to your advantage.
By the way, if something seems strange, always check if you’re speaking into the right side of the microphone. With some models, it is often not clear where the capsule you need to talk into is located. Best to check in the manual.
Once you make sure your recordings will sound as clean as possible, you can refine them with fantastic effects after recording.
A compressor reduces the dynamic range of a signal for a more consistent listening experience. The quietest parts of your signal will appear louder by reducing the loudest parts.
Starter settings for a classic vocal sound: 4:1 ratio, 80 ms attack, 20 ms release - adjust the rest according to your input gain. Just screen the presets until you find something you like. Trust your ears.

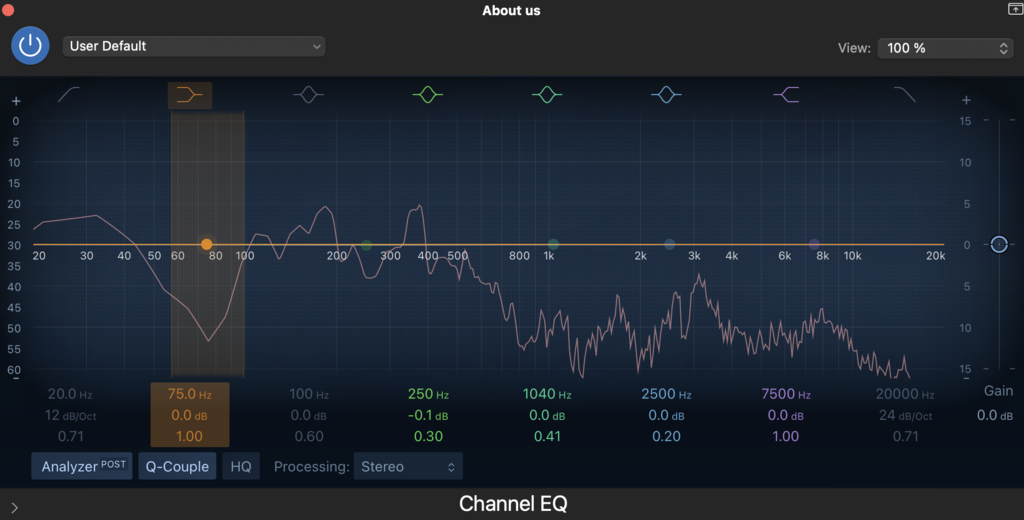
An EQ boosts or cuts specific recording frequencies to tweak your sound according to your preferences.
You can use an EQ to shape the sound of your recording and give it more presence, more clarity. Here's a great video on YouTube with an interesting take on EQing
A reverb adds space to your recording ranging from subtle to extreme.
If your vocal recording sounds too dry, it can sound weird, especially in a musical context. Add reverb to create the feeling of space and dimension. Again, try some presets first and tweak the parameters to your liking. But be aware, too much reverb makes your voice sound weak, and also intelligibility of your lyrics or speech will suffer.
If you want to start recording guitar, check out our blog "How to record electric guitar at home" or "How to record acoustic guitar".
If you have any problems getting your microphone sound right, contact us via email or via our social media channels. We'll be glad to support you.
Related stories
Microphone polar patterns
It is essential to know polar patterns to get the perfect recording out of your microphone. Here you'll learn everything you need to call yourself a pro.
What is gain staging?
Gain staging is the process of adjusting the gain of your audio signal to get optimal results. That sounds simple enough, right? As usual, it can be trickier…